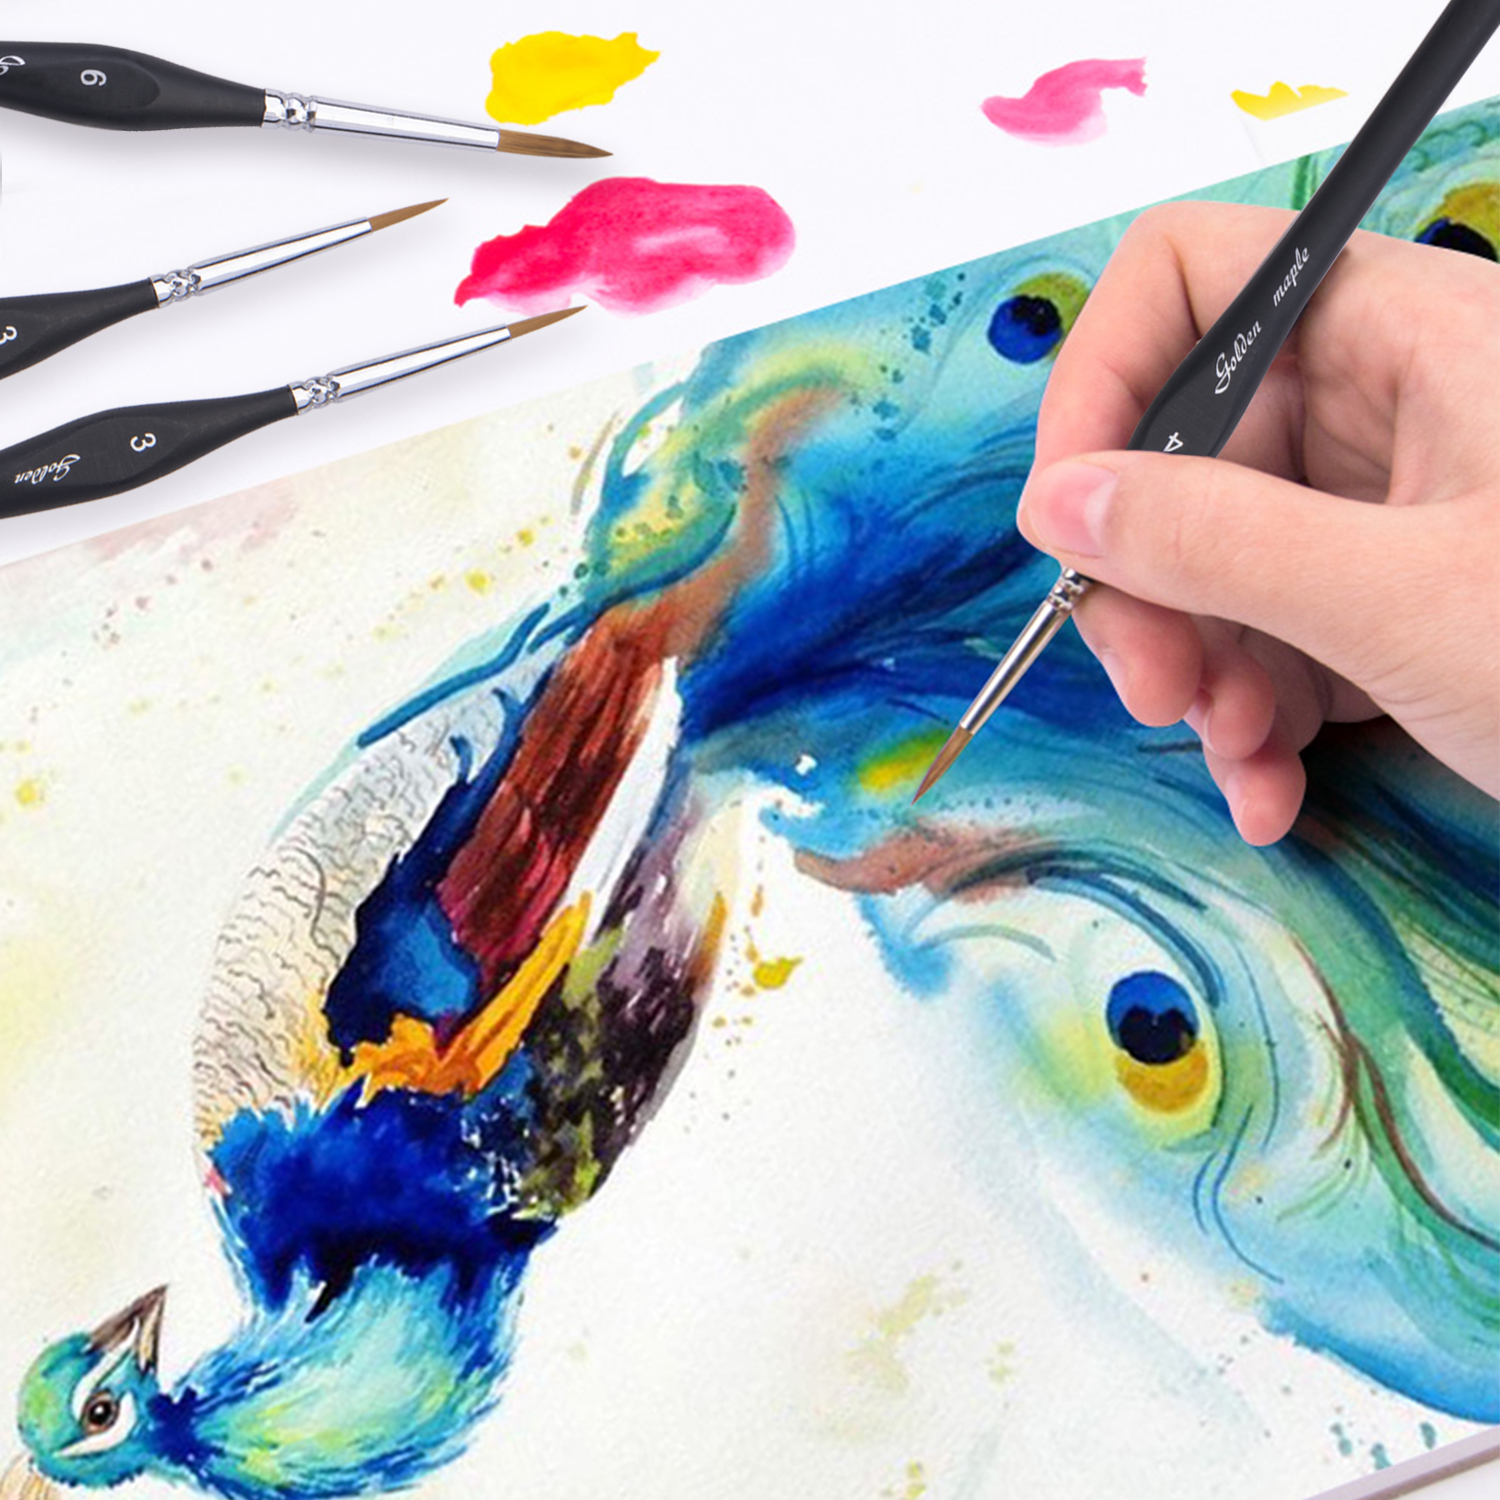
Surface treatment acrylic varnish
Adding the right varnish in the right way is a reliable investment to ensure that your finished oil or acrylic painting remains in top condition. Varnish can protect the painting from dirt and dust, and make the final appearance of the painting uniform, giving it the same gloss or matte.
Over the years, dirt and dust will stick to the varnish instead of the painting. When appropriate, the varnish itself can be removed and repainted to make it look like new.
Fix the dull painting
If your painting is dull, it is easy to confuse the need for varnish with the dullness caused by the color sinking into the surface. If the color has sunk, you should avoid painting. Instead, you should use the artist’s painting medium to “oil” those recessed areas. You can read our article on oiling here.
Sometimes, artists apply varnish to their work to help stabilize surfaces with added texture or damaged layers. However, while varnish will definitely help with this, once varnish is applied, it cannot be removed without damaging the work. If you have such a photo, we recommend that you keep the painted work behind the glass and consider how to improve your technique in the future.
What types of finished surfaces can be painted?
Varnishes are suitable for oils and acrylics because the paint film is relatively thick and separates from the surface.
Varnishes are not suitable for gouache, watercolor and sketches, as they will be absorbed by paint and/or paper and become an integral part of the picture. This may cause discoloration. In addition, it is impossible to remove varnishes from paintings and gouache or watercolor works.
Ten tips for varnishing
Wait until your painting is completely dry.
Choose a dust-free area for work and keep doors and windows closed.
Use a flat, wide, soft and tight glass brush. Keep it clean and use it only for glazing.
Lay the work to be painted flat on a table or workbench-avoid vertical work.
Stir the varnish thoroughly, then pour it into a clean flat dish or tin can. Load the brush and wipe on the side of the dish to avoid dripping.
Apply one to three thin coats instead of a thick coat.
Use long, even strokes from top to bottom, gradually moving from one side to the other. Remove any air bubbles.
Avoid going back to the realm you have already done. For any area you missed, just let the work piece dry completely and repaint it.
When finished, use a plastic protective film (called a “tent”) to protect the work from dust.
Let dry for 24 hours. If you need a second layer, please make it at right angles to the first layer.
Post time: Nov-26-2021


