


Are you curious about trying out oil painting, but don’t know where to start? This post will guide you through the essential oil painting supplies you’ll need to get started on a fantastic artistic journey.
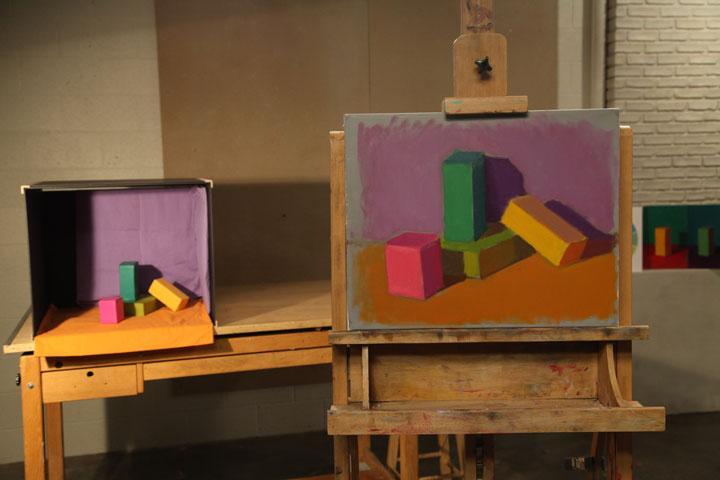
Color block study via Craftsy instructor Joseph Dolderer
Oil painting supplies might seem confusing and even a little scary at first: beyond just paint, you’ll have to stock up on things like turpentine and mineral spirits. But once you understand the role that each supply plays, you’ll be able to start painting with a good understanding of how each supply plays into the painting process.
Armed with these supplies, you’ll be ready to start exploring the wonderful world of oil painting techniques to create fine art.
1. Paint
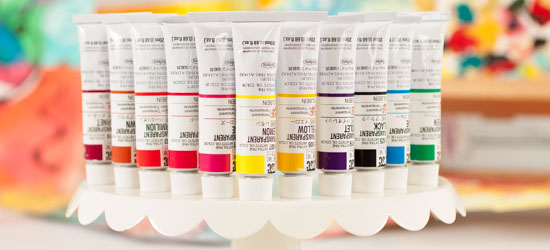 You’ll need oil paint, obviously. But what type, and what colors? You have a few different options:
- If you’re just getting started, you can purchase a kit which is stocked with all of the colors you’ll need.
- If you are comfortable mixing colors, you can start out with the bare minimum and simply buy individual tubes of white, black, red, blue and yellow paints. 200 ml tubes are a good size to get started with.
When I went to art school, we were given the following list of “essential” oil colors to buy:
Necessary:
Titanium white, ivory black, cadmium red, permanent alizarin crimson, ultramarine blue, cadmium yellow light and cadmium yellow.
Not vital, but nice to have:
A smaller tube of phthalo blue is helpful, but it’s a fairly powerful color so you probably won’t need a large tube. A couple of greens, such as viridian, and some nice, earthy browns such as burnt sienna, burnt ochre, raw sienna and raw ochre are nice to have on hand.
Be sure that you are buying oil paint rather than water-soluble oil paint. While water-soluble oil paint is a great product, it’s not what we’re talking about here.
2. Brushes
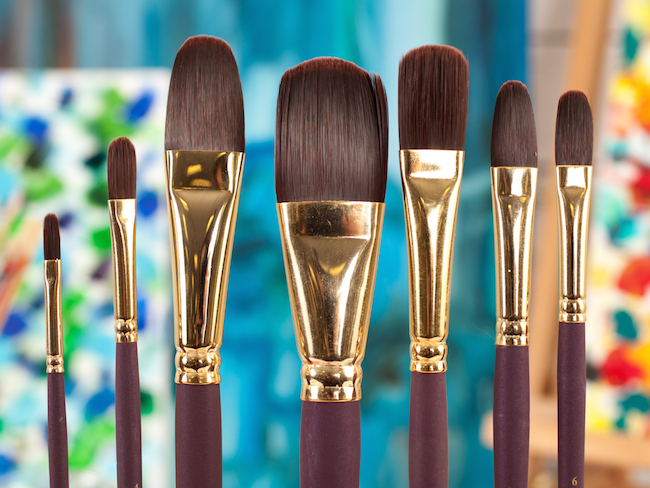
You don’t need to break the bank and buy every single type of brush when you’re just getting started with oil paint. Once you start painting you will quickly learn what shapes and sizes of brush you gravitate toward, and what effects you’re hoping to achieve.
For a starter, a selection of one or two small, medium and large round brushes, respectively, should be enough to educate you on what your painting preferences are.
3. Turpentine or mineral spirits
With oil paint, you don’t clean your brushes in water; instead, you clean them with a paint thinning solution. While “turpentine” is a catch all phrase for this substance, these days, mixtures of odorless mineral spirits are a common substitute.
4. A jar for cleaning brushes
You’ll need some sort of vessel to store your turpentine or mineral spirits for cleaning your brushes as you paint. A jar with a coil inside (sometimes called “silicoil”) is ideal for cleaning your brushes. You can fill it with your turpentine or mineral spirit mixture, and gently rub the bristles of the brush against the coil to remove excess paint. Jars like this are available at art supply stores.
5. Linseed oil or oil medium
Many beginners get confused about the difference between linseed oil (or oil media such as galkyd oil) and turpentine or mineral spirits. Like the mineral spirits, linseed oil will dilute oil paint. However, its oil base makes it a softer medium to use to thin your oil paint to attain an ideal consistency without losing the paint’s texture. You’ll use linseed oil almost like you would use water to thin watercolor paint.
6. Newsprint or rags
Have newsprint or rags on hand for cleaning your brush off and drying the bristles after you’ve dipped it in the cleaning solution. Cloths are great, but depending on how frequently you are changing colors, you may get more mileage out of plain newsprint.
7. Palette
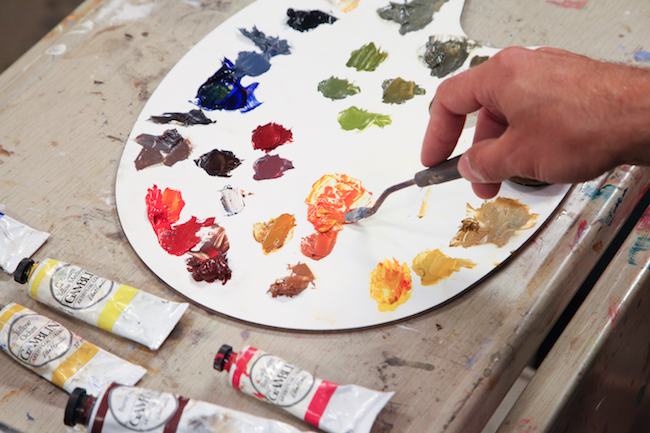
You don’t need to be a bearded European artist to use a palette. Really, it’s just the term for the surface upon which you mix your paint. It can be a large piece of glass or ceramic or even a disposable books of palette pages sold at art supply stores. Be sure that it’s large enough for what you’re doing, though. You want plenty of room to mix colors and “spread out” on the palette without feeling too crowded.
Note from the author: While this is anecdotal as opposed to technical advice, I find that for beginners, a good rule of thumb is to have a palette space that is about half the size of your finished canvas. So, if you’re working on a 16×20 inch canvas, a palette roughly the size of a sheet of printer paper should be ideal. Try this method out when you’re just starting, and see how it works for you.
8. Painting surface
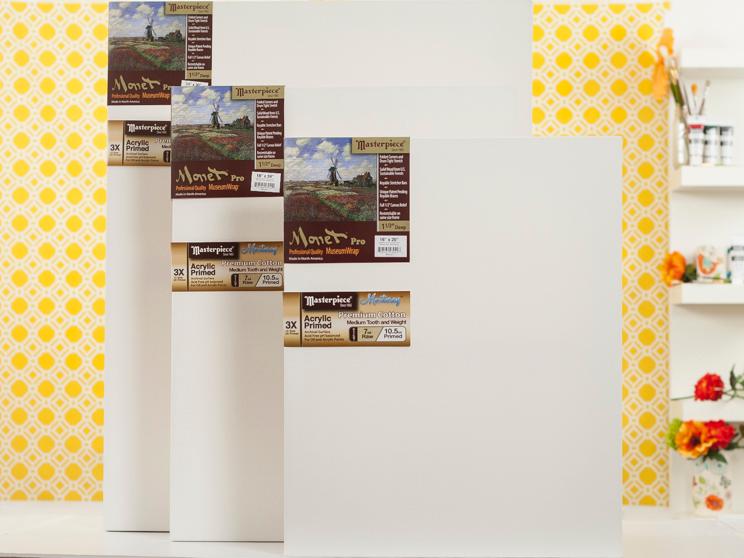
When you’re ready to paint in oil, you’ll need something to paint on. Contrary to popular belief, it doesn’t have to be canvas. As long as you treat a surface with gesso, which acts as a “primer” and keeps the paint from deteriorating the surface beneath, you can paint on just about any surface, from thick paper to wood to yes, the popular pre-stretched canvas.
9. Pencils
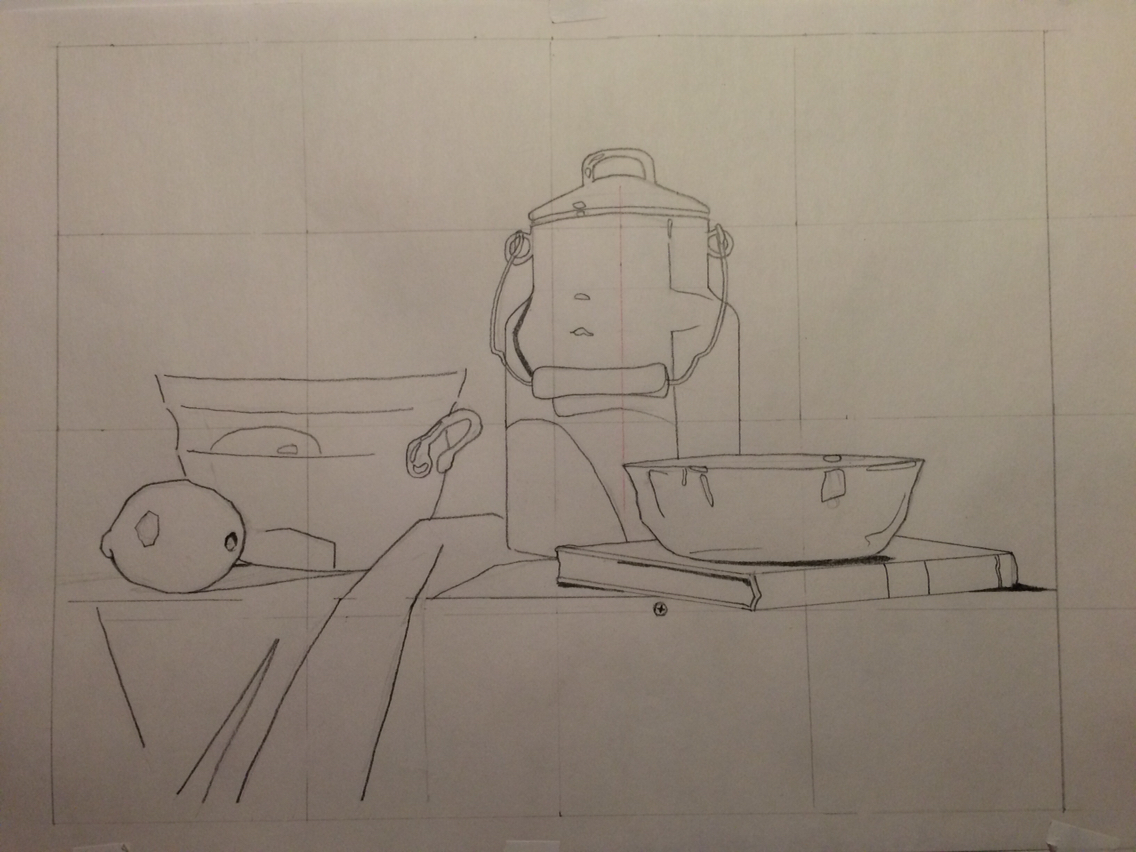
Sketch via Craftsy member tottochan
Some painters prefer to do their “sketch” in paint directly on the work surface, but others prefer pencil. Since oil paint is opaque, you can use a soft, broad-tipped pencil such as a charcoal pencil.
10. Easel
Many, but not all artists, prefer to paint with an easel. It’s not required, but it may help you from hunching while you paint. If you’re just getting started, it’s a good idea to start basic. Try to find a used easel (they’re often found at yard sales and secondhand stores) or invest in a small tabletop easel for minimal investment. Painting on this “starter” easel can inform you of your preferences, so that when it is time to buy a good one, you’ll know what you are looking for.
11. Painting clothes
It’s inevitable that you’ll get spotted with paint at some time or another. So don’t wear anything that you don’t want to start looking “artistic” when you are painting with oils!
Post time: Sep-07-2021